Floral Corner Book Nook DIY Kit: 3D Wooden Miniature
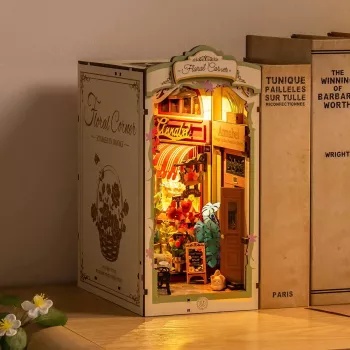
Floral Corner Book Nook 3D Wooden DIY Model
Bring a tiny garden-lit passageway to a bookshelf with a hands-on wooden miniature that builds into a decorative “corner” scene. This floral-themed book nook model is designed for relaxing crafting sessions and a finished display that adds depth and charm between novels, comics, or journals—especially in cozy reading spaces and giftable home décor collections.
What This Book Nook Is
- A 3D wooden DIY model that assembles into a narrow bookshelf insert (a “book nook”) with a floral corner scene
- Designed to sit between books like a miniature portal, adding layered detail and visual depth to shelves
- A craft-forward décor piece suited for hobbyists, readers, and anyone who enjoys building small-scale scenes
- Works well as a gift for birthdays, holidays, and housewarmings—especially for crafters and book lovers
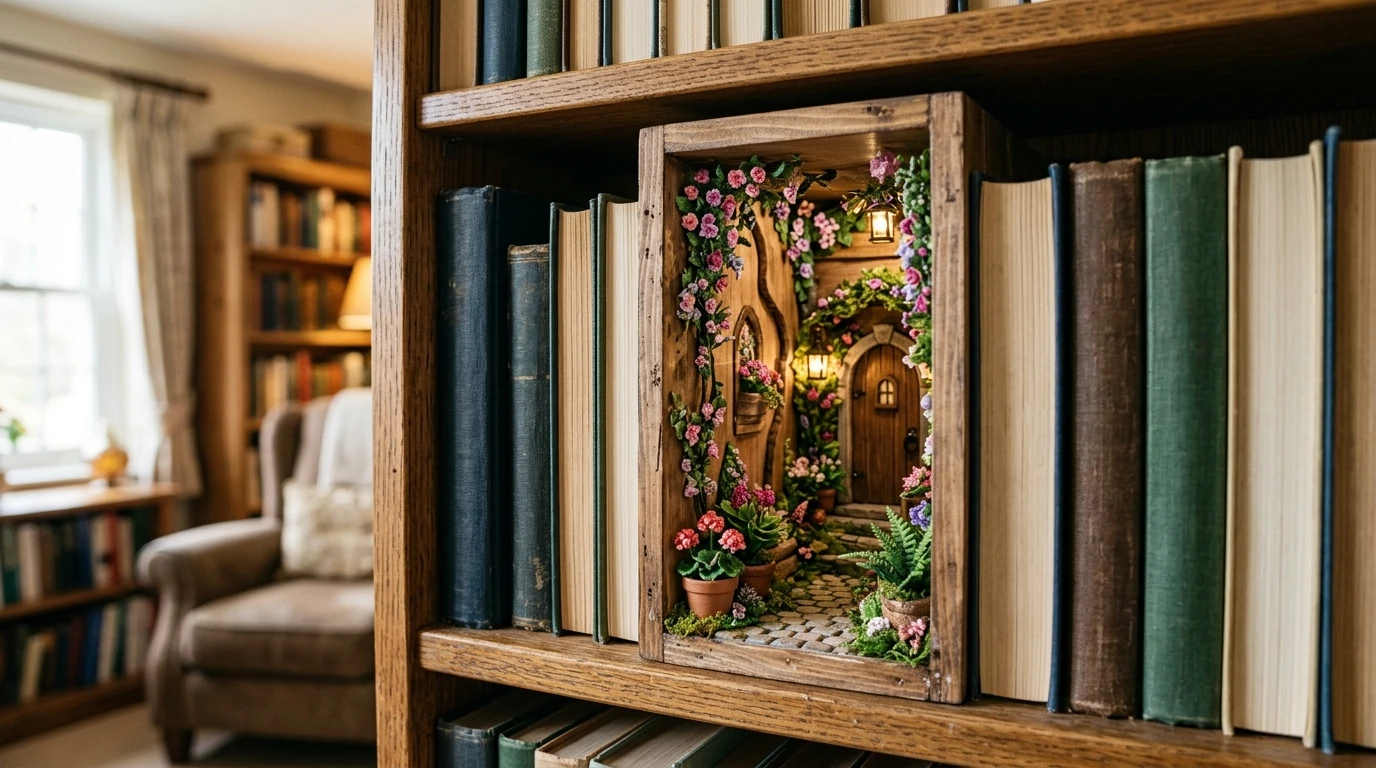
Unlike standard shelf décor, a book nook is meant to look “built in” to a row of books. When tucked between similarly sized hardcovers or paperbacks, the scene reads like a little world hiding in the gap—subtle at first glance, then surprisingly detailed once you lean in.
Highlights That Make the Floral Corner Feel Lifelike
- Layered construction creates perspective, making the scene look deeper than the shelf’s actual width
- Floral detailing adds softness and a botanical theme that pairs well with romance, fantasy, and classic literature shelves
- Wooden components provide a warm, natural finish that complements many home décor styles
- The “corner” layout is ideal for end-of-shelf styling, desk nooks, or display cabinets
The most satisfying detail is the sense of depth. As layers stack, edges align, and framing pieces settle into place, the nook starts to feel like a real corner you could step into—just miniaturized. This makes it especially striking on shelves where flat spines dominate the visual line.
Skill Level, Time, and Tools to Prepare
- Best suited for patient beginners to intermediate builders who enjoy careful, step-by-step assembly
- Set aside a calm workspace with good lighting and a flat surface for sorting pieces
- Commonly helpful tools: craft glue (as required), tweezers, small scissors or a hobby knife (optional), and a soft cloth for dusting
- For the cleanest result, dry-fit parts before final attachment and keep pressure gentle to avoid bending delicate pieces
Plan your build like a short series instead of a sprint. Even when pieces fit smoothly, pausing between steps helps reduce smudges, prevents misalignment, and keeps tiny components from disappearing into the carpet.
Assembly Tips for a Cleaner Finish
- Organize parts by size and step order before starting; small trays or cups help prevent loss
- Test alignment on structural pieces first (base, walls, framing) before adding decorative layers
- Use minimal adhesive where needed to prevent seepage; apply with a toothpick for precision
- Let key joins cure fully before moving on to the next layer to avoid shifting and misalignment
- If a piece feels tight, avoid forcing it—light sanding on edges (very gently) can improve fit
A simple rhythm works well: sort, dry-fit, attach, then set aside for a few minutes. That extra curing time pays off in straighter walls and cleaner edges—especially on framing where small angles can compound across layers.
Where It Looks Best on a Shelf
- Place between books of similar height for a seamless built-in look
- Create a focal point near favorite authors or color-sorted sections to make the shelf feel curated
- Use at the end of a row as a decorative “bookend alternative” that still reads as part of the library
- Avoid direct sunlight or high humidity to help preserve color, adhesive bonds, and wood condition
For shelves that get daily use, position the nook where hands won’t constantly brush it when pulling books. If you like to rearrange often, place it in a “stable zone” so it can stay put while the surrounding titles rotate.
Quick Reference: Product Snapshot
A fast way to confirm the essentials before starting or gifting. Use the product link for current price and availability.
| Detail | Value |
|---|---|
| Product | Floral Corner Book Nook 3D Wooden DIY Model |
| Price | 36.51 USD |
| Availability | In stock |
| Best for | Bookshelf décor, DIY miniature crafting, gifting |
| Display idea | Between books or as an end-of-shelf accent |
Shop the Shelf: Build a Coordinated “Tiny World”
For a cohesive display, pair a book nook with another miniature build and let the theme carry across a full shelf section.
- Floral Corner Book Nook 3D Wooden DIY Model — a floral, corner-style nook that adds depth between book spines.
- DIY 3D Puzzle Miniature House Kit — a companion build that turns one shelf into a full miniature neighborhood vibe.
Related DIY Display Idea
Care and Long-Term Display
For general shelf and book care guidance, the Smithsonian Libraries and Archives preservation resources and the Library of Congress book care guidance both recommend stable environments—moderate humidity, minimal direct sunlight, and careful handling. Those same basics help keep wood crafts and adhesive bonds looking their best.
FAQ
Is this book nook difficult to assemble?
It’s approachable with patience and a step-by-step pace. Organize pieces first, dry-fit before attaching, and work in small stages; tweezers and careful glue application can make tiny details easier.
What size bookshelves does it fit in?
Book nooks are designed to sit between books on most standard shelves. Measure your shelf height and the space between book rows, then place it between similarly sized books for the most “built-in” look.
Is it a good gift for book lovers who don’t usually craft?
Yes—especially as a slow, relaxing project that turns into lasting décor. Pairing it with a favorite book or a small starter toolkit can make it feel even more inviting and gift-ready.











Leave a comment