230W Electric Chainsaw Sharpener: Adjustable-Angle Grinder
Electric Chainsaw Sharpener: Chain Grinder with Adjustable Angles for Fast, Consistent Edges
A sharp chain cuts cleaner, pulls less, and reduces wear on the saw. An electric sharpener with adjustable angles helps match the cutter geometry to the chain, restoring a consistent edge tooth-to-tooth with less guesswork than freehand filing. This guide explains what adjustable-angle grinding changes, how to set it up, and how to sharpen safely and repeatably—especially when a chain is dull, damaged, or “rocked” from hitting dirt or stones. For more guidance, see [PDF] 1975 Special Chain Saw Section.
What an adjustable-angle chain grinder changes
Adjustable angles matter because chains don’t just “need to be sharp”—they need to be sharp the same way on every cutter. A bench grinder-style sharpener controls geometry so the saw cuts straight and predictably. For further reading, see Chainsaw sharpening with Harbor Freight electric sharpener.
- Consistent cutter angles across the loop: Matching left/right angles reduces vibration and helps the bar track straight instead of drifting or “pulling.”
- Supports common chain specs: Angle adjustments let you align with typical top-plate settings across different chain types and sharpening preferences.
- Minimal, controlled material removal: With a proper stop and light touch, you remove just enough metal to restore the edge, extending chain life compared with uneven grinding.
- Best for true restoration work: It shines when cutters are rounded, uneven, or chipped—cases where quick field touch-ups won’t bring the chain back uniformly.
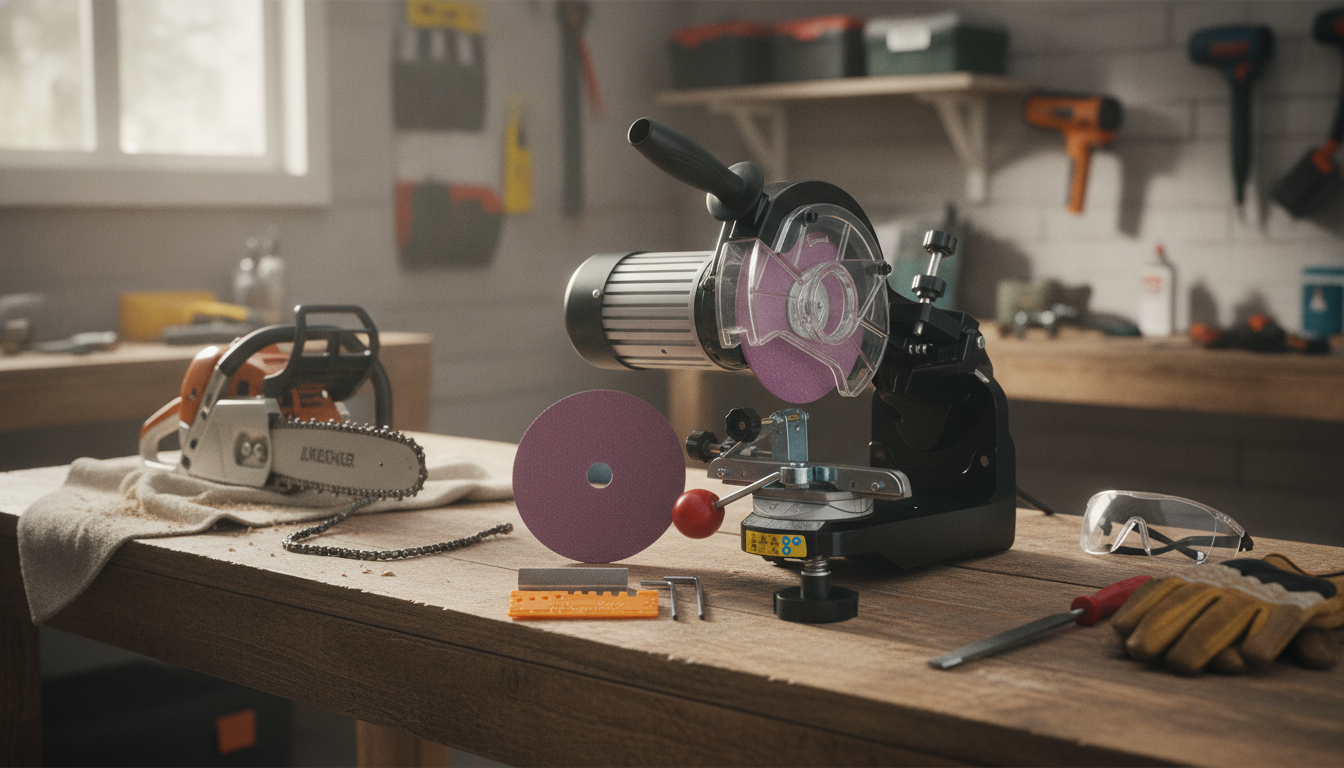
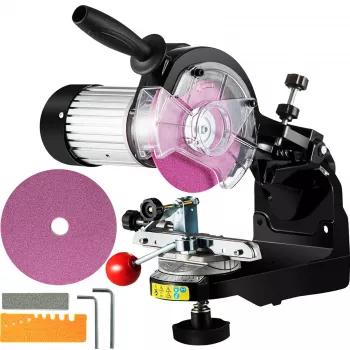
Product snapshot: 230W Electric Chainsaw Sharpener with adjustable angles
If you want repeatable results at the bench, the Electric Chainsaw Sharpener – 230W Chain Grinder with Adjustable Angles is designed for tooth-by-tooth sharpening with controlled contact. The workflow is straightforward: clamp the chain, set the angle, make brief passes, and index to the next cutter.
- 230W motor: Built for steady grinding when pressure stays light and controlled (forcing the wheel is what causes heat and inconsistency).
- Adjustable angles: Helps match typical chain top-plate settings and repeat the same geometry session after session.
- Bench-style control: Vise/clamp indexing supports consistent seating and a more uniform edge from the first cutter to the last.
- Good fit for workshops: Useful for property maintenance, firewood prep, and anyone rotating multiple chains.
| Item | Detail |
|---|---|
| Product | Electric Chainsaw Sharpener – 230W Chain Grinder with Adjustable Angles |
| Power | 230W |
| Primary use | Sharpening chainsaw cutters with adjustable angle control |
| Availability | In stock |
| Price | 120.51 USD |
For a practical bench companion—organizing gauges, wrenches, and maintenance odds-and-ends—the 96 Piece Household Tool Kit can help keep the sharpening station tidy and ready, especially if multiple people share the workspace.
Setting up for accurate sharpening
Accuracy starts before the wheel touches the cutter. Small setup errors get repeated across every tooth, so it pays to slow down here.
- Mounting: Secure the sharpener to a stable bench at a comfortable height. Any wobble can translate into uneven cutter lengths and angles.
- Wheel condition: Use a clean, true wheel. Dress it when glazing or grooves appear so the wheel face stays consistent from cutter to cutter.
- Chain prep: Brush off sawdust and grit, and wipe heavy oil so the cutters sit flat in the vise instead of rocking.
- Pick a reference tooth: Mark the first cutter you sharpen so you don’t double-grind a section or lose count around the loop.
- Set the depth stop: Adjust it so the wheel just reaches the cutting edge. Over-travel thins the tooth and heats the edge faster.
Adjustable angles explained (and how to pick a starting point)
Chains are engineered with specific cutter geometry. The goal of an adjustable-angle grinder is to replicate that geometry reliably—especially the cutting corner—without removing unnecessary metal.
- Top-plate angle: This is the main side-to-side angle. When available, match the chain maker’s recommendation (often listed in chain documentation or stamped cues).
- Head tilt / down angle (if supported): This influences the side-plate profile. Even small changes can shift how aggressively the chain feeds and how smooth it feels in the cut.
- Left vs. right cutters: Sharpen all cutters facing one direction first, then reset the grinder for the opposite side. This reduces mistakes and keeps results symmetrical.
- Consistency beats improvising: Log the angle settings per chain type so the next session starts from a known-good baseline.
- If unsure: Start conservative—match the manufacturer cues and avoid extreme angles that weaken the cutter corner and reduce edge life.
Step-by-step sharpening workflow
Safety and chain life tips
For general power-tool safety guidance, consult OSHA’s overview on hand and power tools.
Troubleshooting common results
For manufacturer sharpening references, review resources from Oregon Products and STIHL.
Maintenance for dependable sharpening sessions
FAQ
What angle should the grinder be set to for sharpening a chainsaw chain?
Use the chain manufacturer’s recommended top-plate angle as your starting point, then keep that setting consistent across all cutters on the same side. If you don’t have the spec, use the chain’s stamped cues and avoid extreme angles that weaken the cutting corner.
Can an electric chain grinder ruin a chain?
Yes. Too much heat or removing too much material can soften or weaken the cutters. Use light pressure, short contact time, and a properly set stop so the wheel doesn’t over-travel.
Do rakers need adjustment after grinding the cutters?
Often, yes. As cutters get shorter from sharpening, rakers can sit relatively higher and reduce bite, turning chips into dust. Use a depth-gauge tool to bring rakers back into the correct range.


Leave a comment